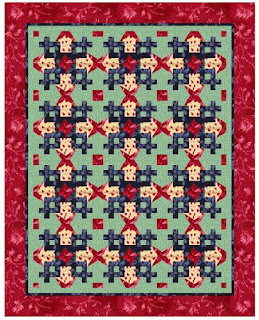
Kansas Dugout
Kansas Dugout Blocks
These directions are for a 2 1/2" template. If you use a different size then adjust the sizes.
You can use whatever size you like for the center strip. It can be wider or narrower than what I show here. It will make your design look a bit different if you change the center strip size. That can make for an interesting variation.
Step
1:
Sew a dark
strip to a light strip. Colors will vary depending on the quilt block
Trim center strip to 1” from the seam. Iron the seam open and iron the strips flat.

Step 2: Sew the other
dark strip onto the joined strips

Step 3:
Lay the
strips on a cutting mat and lay your template on point on the fabric.
Center your template corners on the middle strip.
Center the bottom corner in the middle between both side fabrics. This is the most important step as far as getting your blocks to match up later on. If the corner is off here your blocks will be harder to get to meet correctly.
Make sure to keep the template from moving as you cut out around the template.
This ensures your center will match the next Kansas Dugout block. If they are
cut off center two blocks won’t match. Accuracy is important here.

And here is your Kansas Dugout
Block

Using the Leftovers:
After you
have cut out all the blocks from your strips you can pull those remaining
strips apart or snip through what’s left of the center strip.

Then you can
sew a light strip to one of the dark leftover strips.

Again trim
the center strip to 1”
And sew on
the other dark leftover strip.
Now you can
cut out more blocks.
This will
use up what was left over from your first cutting.
***************************************************************
Take time to TACK!
When joining two shortcut blocks together I
prefer to tack instead of pinning. Tacking is putting a stitch where your seam
is going to go through wherever you have two seams meeting and on the ends.
This keeps the fabric from moving before it is sewn. If you tack and the fabric
is in the right place your project will be a lot more accurate than if you use
pins. I feel the fabric still moves too much with pins. A tack is a lot more
secure in my opinion.

I use a hand
needle and thread and put at least one if not two stitches where I want the
seams to stay put.
Tacking also takes care of any bias problems. I do use pins
in the center sometimes. I tack on the ends and over seams and put pins in the
middle to keep it from separating.
I tacked a stitch where the seams meet and on each end. Make sure you put the tack where your seam will go. Don't put them on the top. You can't separate the seam then if you do that.
Alternative Cutting Method
If you prefer to cut squares to make these here is a different way to cut out your sections.
You can adjust the size of the square and strip for the size shortcut block you are making.


Comments
Post a Comment