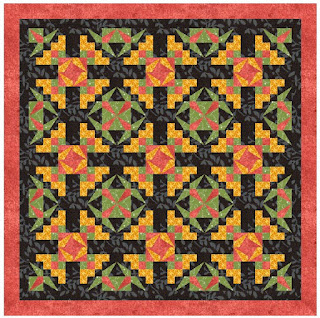
4 Patch Squares
How to Cut out a 4 Patch square block.
This is my shortcut way to get an accurate block for better looking quilt blocks.
If you use this method you will get shortcut blocks that are the right size and will fit with other shortcut blocks without any hassle.
You will need a clear plastic template.
for most of my designs you will need a 2 1/2" template.
Use any size of template you like to get other sizes of quilt blocks.
So your strips should be at least 1 3/4" (half of the template 1 1/4" plus 2 seam allowances 1/2" = 1 3/4")
Step 1: cut your strips and join two together
Step 3:
lay your sections so they are opposite colors.
for the other blocks you will need to make sure your colors
are in the right places in the blocks

This is my shortcut way to get an accurate block for better looking quilt blocks.
If you use this method you will get shortcut blocks that are the right size and will fit with other shortcut blocks without any hassle.
You will need a clear plastic template.
for most of my designs you will need a 2 1/2" template.
Use any size of template you like to get other sizes of quilt blocks.
So your strips should be at least 1 3/4" (half of the template 1 1/4" plus 2 seam allowances 1/2" = 1 3/4")
Step 1: cut your strips and join two together
Step 2: cut your strips into sections
If you are using a 2 1/2" template then you need to cut your strips into 2" sections. You can skimp on this if you prefer but I hate finding my pieces aren't big enough. I'd rather trim down a bit and get a more accurate square block.
Step 3:
lay your sections so they are opposite colors.
for the other blocks you will need to make sure your colors
are in the right places in the blocks

Step 4: Tack your sections.
I sew a stitch across where the seams meet.
Also I like to tack a stitch on each end.
This works better than pinning in my opinion.
Step 5: sew the sections together.
Step 6: Lay your joined sections on a mini cutting mat.
Then lay your template on the sections so the lines match up
with the seams. Be as accurate as you can with the lining up.
My template has seen better days LOL It is showing it's age.
Step 7: Using your rotary cutter cut along each side of the template as
accurately as you can. Make sure you hold the square tight so it
doesn't move. Cut all 4 sides and take out the cut out square.


Comments
Post a Comment